This page is not compatible with Internet Explorer.
For security reasons, we recommend that you use an up-to-date browser, such as Microsoft Edge, Google Chrome, Safari, or Mozilla Firefox.
What's New in VGinLINE
Discover the Exciting New Capabilities of Version 2023.1 (as of March 2023)
Version 2023.1 of VGinLINE is now available for download. In version 2023.1, you will benefit from the following new capabilities*:
Feature Highlights of Version 2023.1
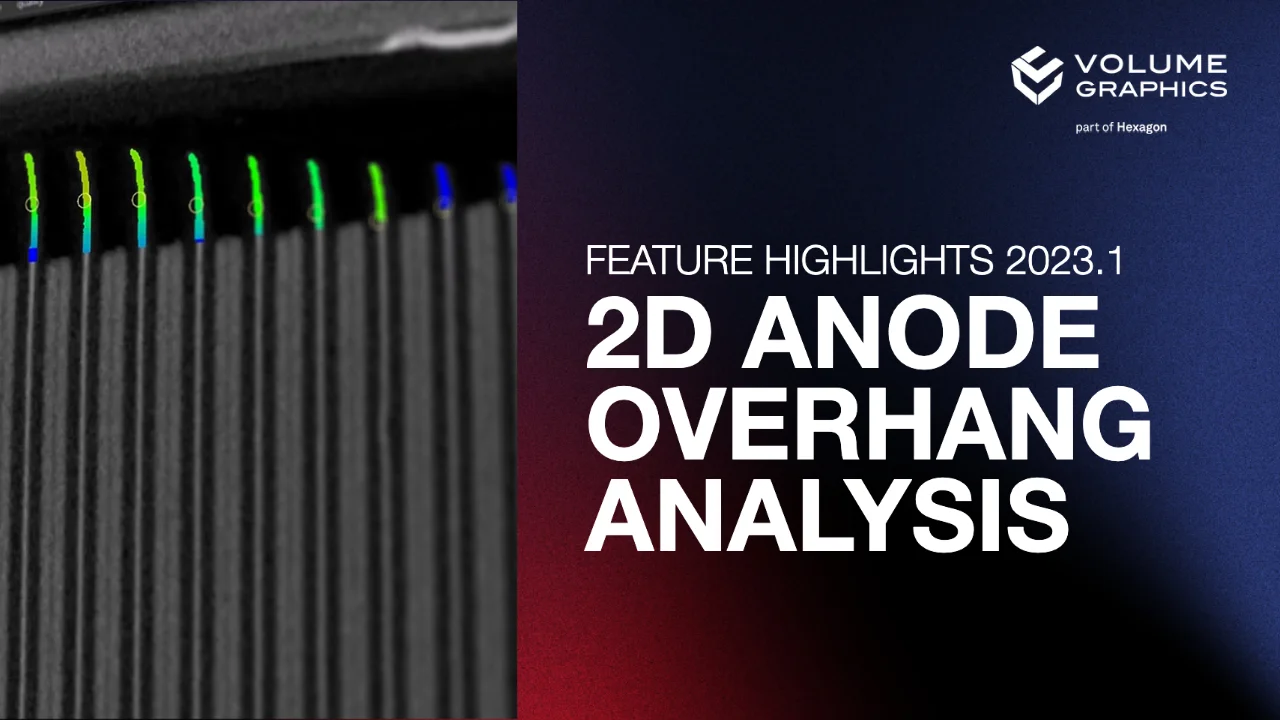
Battery Inspection: 2D Anode Overhang Analysis
Battery Inspection: 2D Anode Overhang Analysis
Our new battery inspection feature allows you to measure and tolerance 2D anode overhang and more, such as shape-following lengths, electrode counts, and the curvature of the overhang. In addition, you can visualize the desired property in various ways.
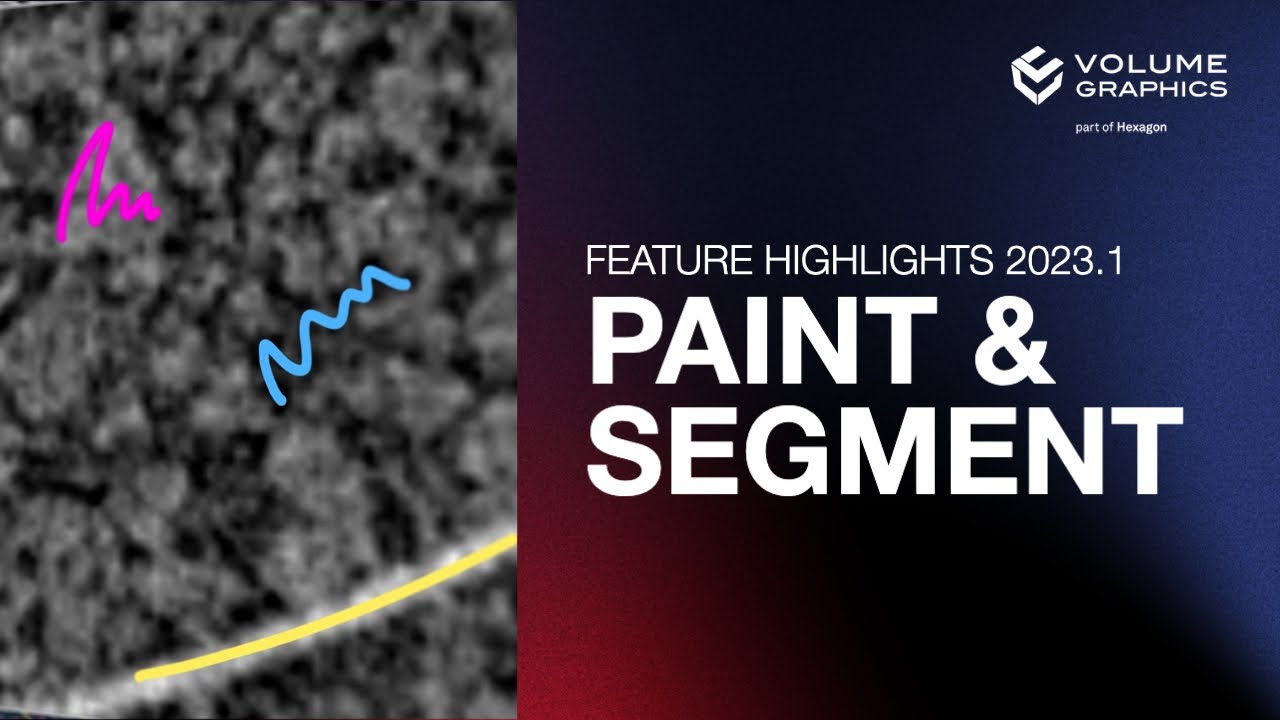
Paint & Segment
Paint & Segment
Uses machine learning technology to optimize and speed up segmentation. Just "paint" the structures you want to segment in small regions and let "Paint & Segment" do the rest. Immediate visual feedback lets you gauge the quality of the current segmentation and quickly adjust if necessary.
More Exciting New Features
Coordinate Measurement
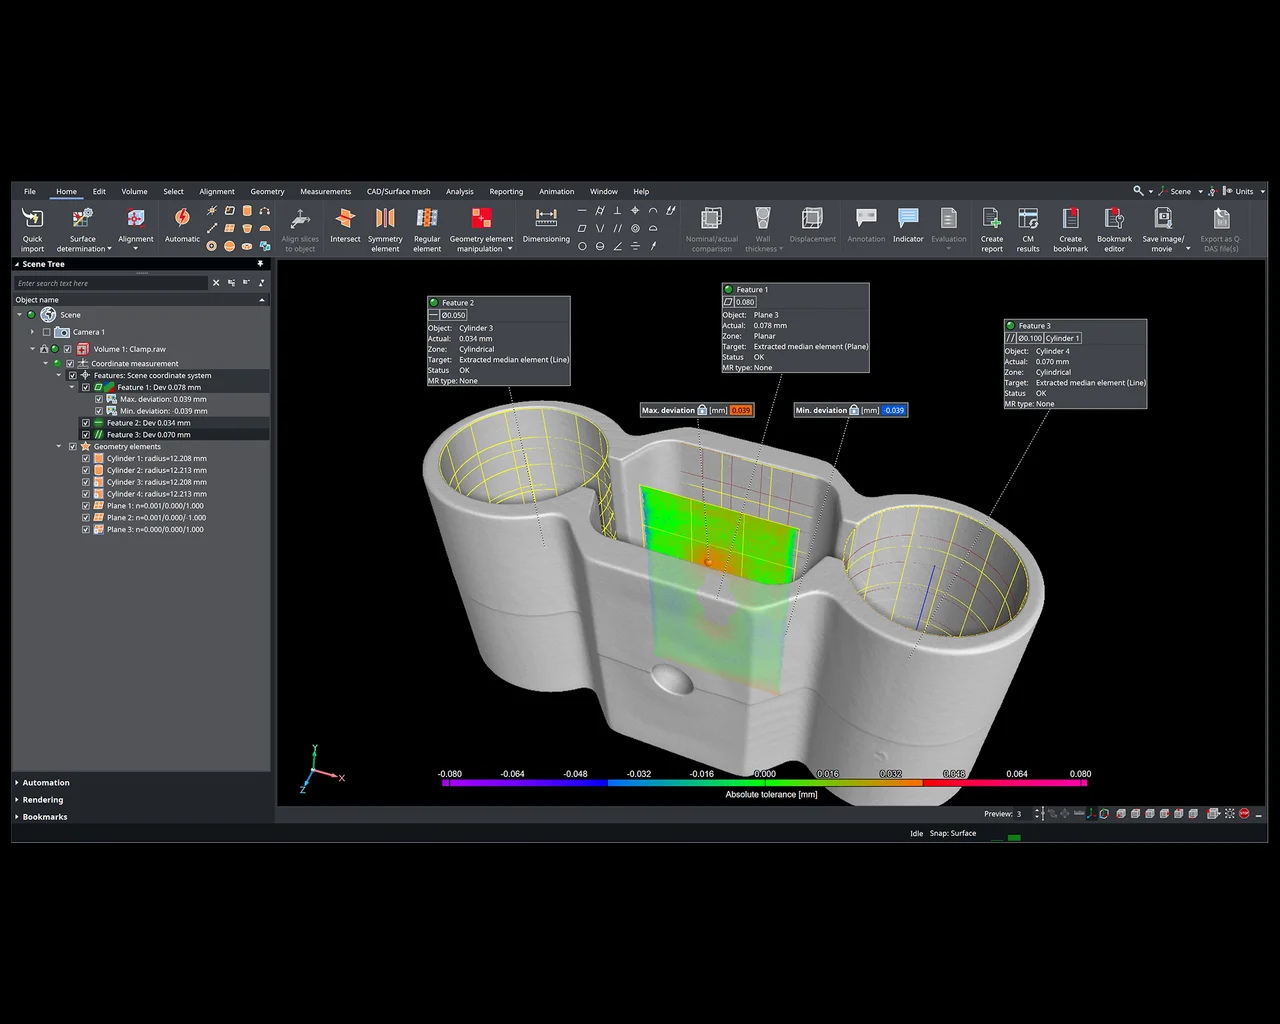
Geometric Tolerances for Extracted Median Elements
Create geometric tolerances for extracted median elements of cylinders, cones, or parallel planes with this new feature! Additionally, with the help of regular elements—a new type of combined geometry elements—and geometric tolerances, it is now easy to include a slew of measurements on a single part. Try it out and discover useful deviation visualizations for median planes.
Automation
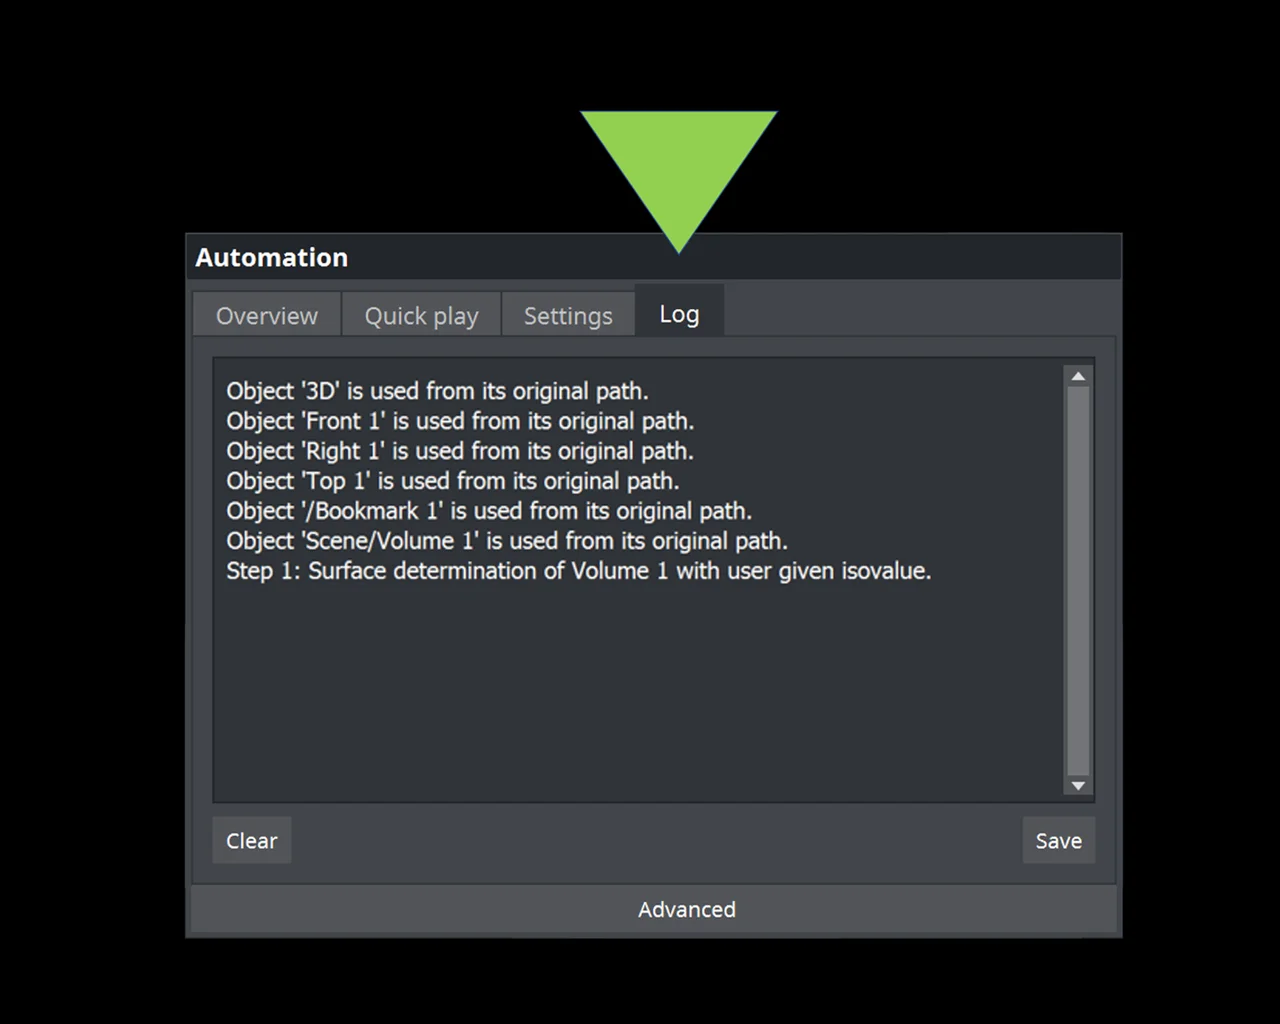
Improved Object Substitution Logging during Macro Playback
Like using macros? Our new version provides more comprehensive information on the objects your macros refer to. Additionally, we turned noncritical warning messages to information messages to avoid misunderstandings.
General
"Defect" Was Renamed "Indication"
In the NDT/NDE world, the generic term “defect” is unsuitable for detected deviations from the theoretical ideal state when examining a workpiece (e.g., produced by injection molding, metal casting, or additive manufacturing). In a real part, there will always be deviations in the form of imperfections, such as porosities, inclusions, and delamination; however, they must not be classified as defects without thorough examination and evaluation considering customer specifications. A blanket classification of deviations as “defects” would lead to a nonfunctional workpiece, and should therefore be avoided.
The term “indication” for deviations from the ideal workpiece condition is based on the corresponding definitions in the US standards for nondestructive examinations (NDE)*.
Here are the terms used throughout our software and documentation:
- Indications: results of NDE analysis, e.g., imperfections in metal castings, AM components, injection-molded parts, and weldings
- Imperfections: voids, inclusions
- Voids: porosity, delamination, cracks
- Porosity: gas pores, air entrapment pores, shrinkage cavities
* ASTM E1316-22a: "Standard Terminology for Nondestructive Examinations" and ASNT: "Nondestructive Testing Handbook," Vol. 10, "Nondestructive Testing Overview"
"Registration" Was Renamed "Alignment"
We renamed “registration” to “alignment” in the application, as it is the more commonly used term in metrology.
“Registration” is commonly used for aligning more than two parts at once, whereas “alignment” is usually used for aligning one part to another.
Tutorials in Other Languages
Our tutorials covering fundamental topics are also available in Italian, Spanish, and Russian.
Windows 11 Support
Feel free to upgrade to the most recent version of Windows; our software also supports Windows 11.
*Depending on the platform, there are differences in the range of functions for different operating systems. See our continuously updated Product Information page for details.
Volume Graphics GmbH
Speyerer Straße 4-6
69115 Heidelberg
Germany
Phone: +49 6221 73920 60
Fax: +49 6221 73920 88
Sales enquiries:
sales@volumegraphics.com
Modifications and errors reserved.
